Please Click on Images
 |
 |
 |
 |
 |
 |
 |
 |
 |
 |
 |
 |
 |
 |
 |
 |
 |
 |
 |
 |
 |
 |
 |
 |
 |
 |
 |
 |
 |
 |
 |
| Top (L-R) |
|---|
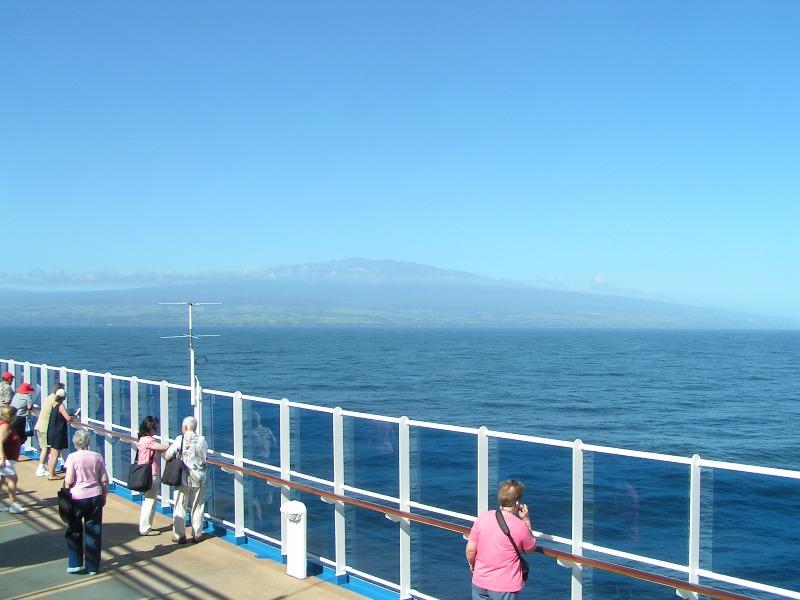
| 1. First Sight of Land; Hilo |
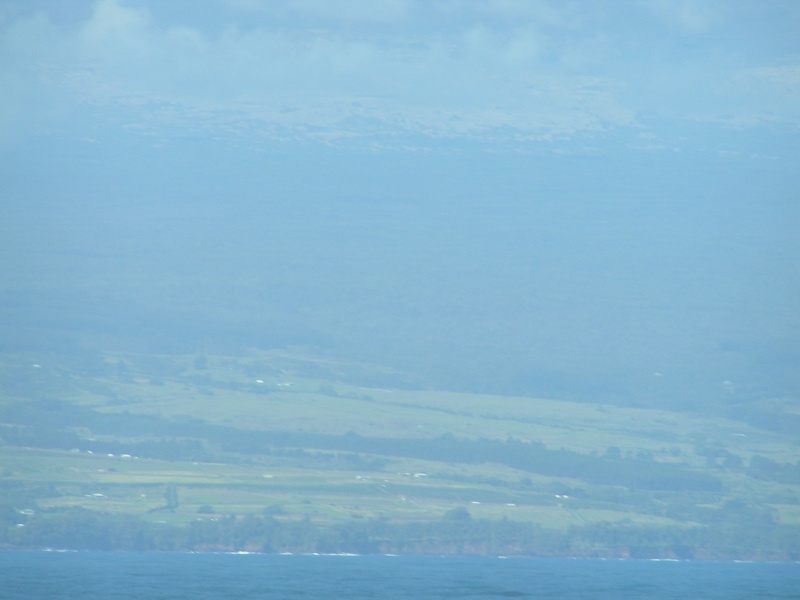
| 2. Hilo, The Big Island, Hawaii |
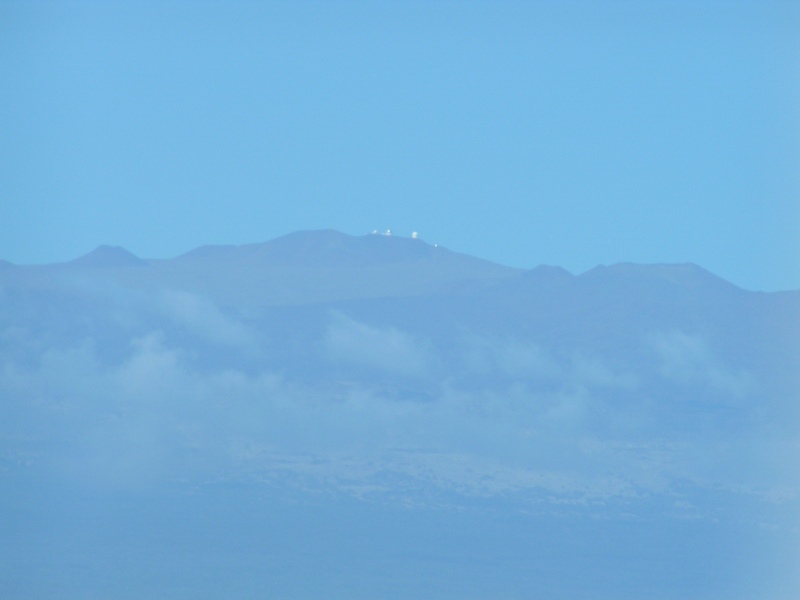
| 3. Hilo, Observatory |
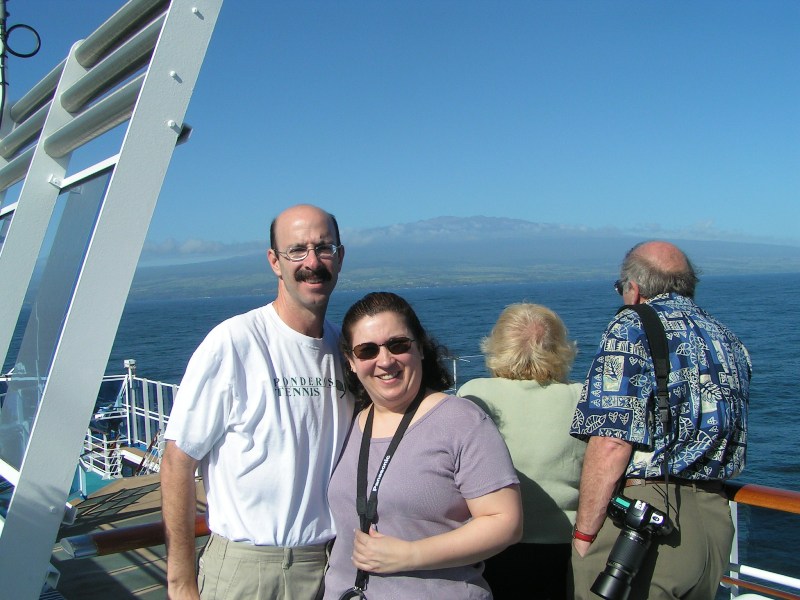
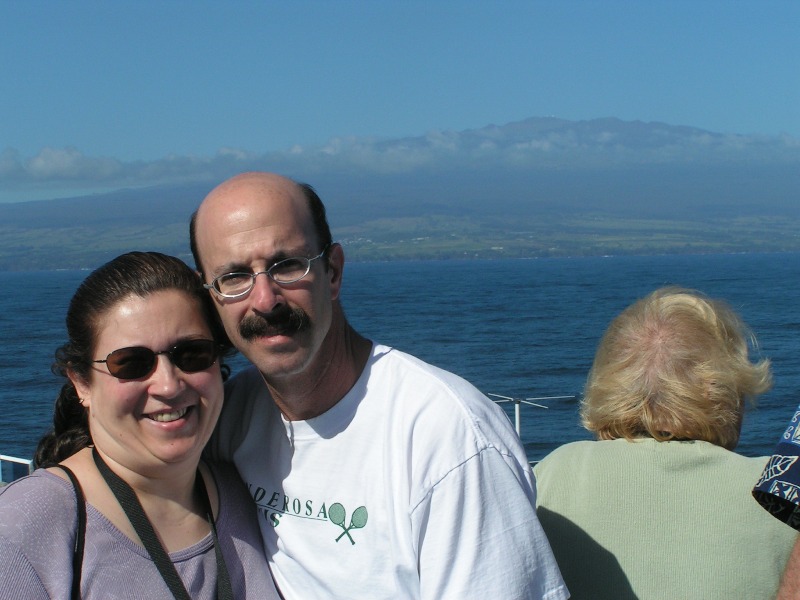
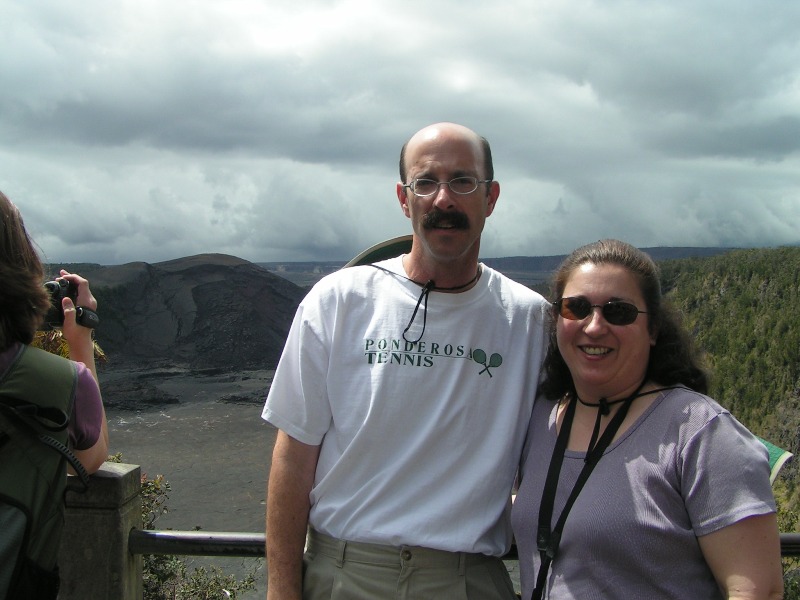
| 4. Rob and Sandy |
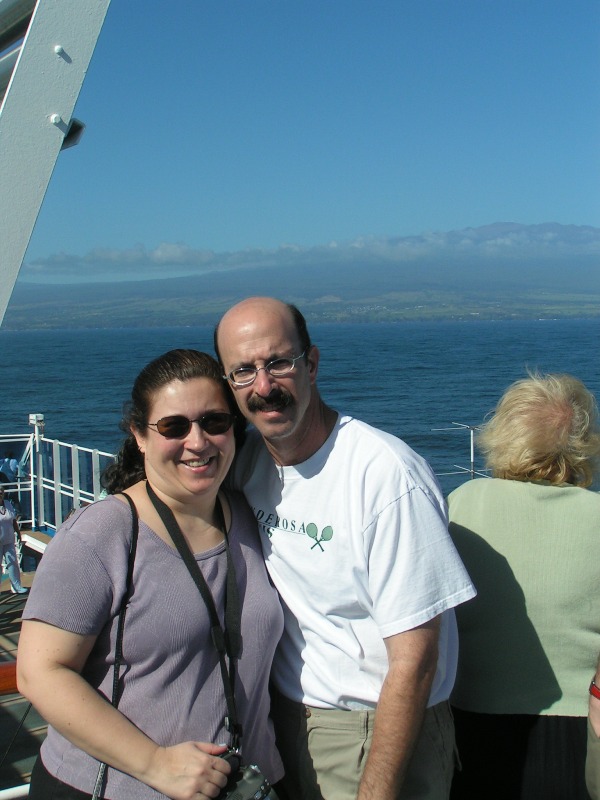
| 5. Rob and Sandy (Hilo) |
| 2nd Row (L-R) |
| 1. Rob and Sandy |
| 2. Statue of King |
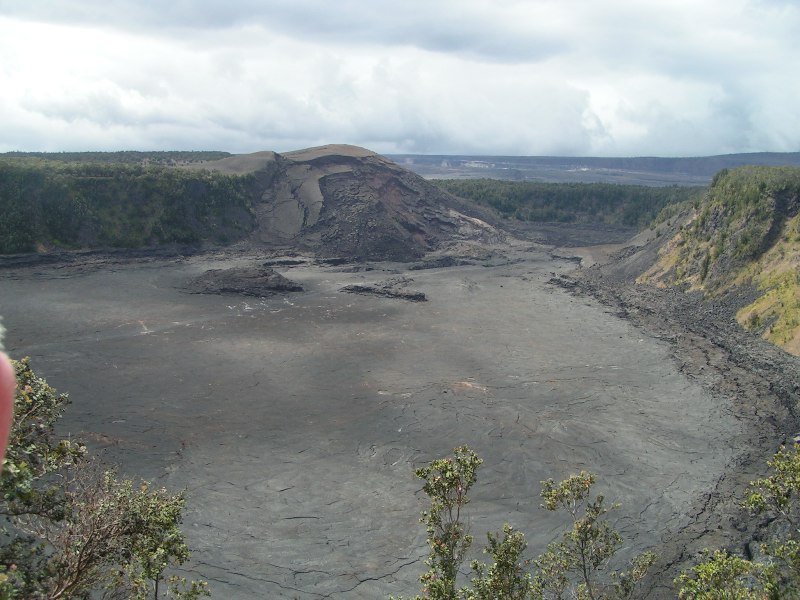
| 3. Hilo's Lava Flow |
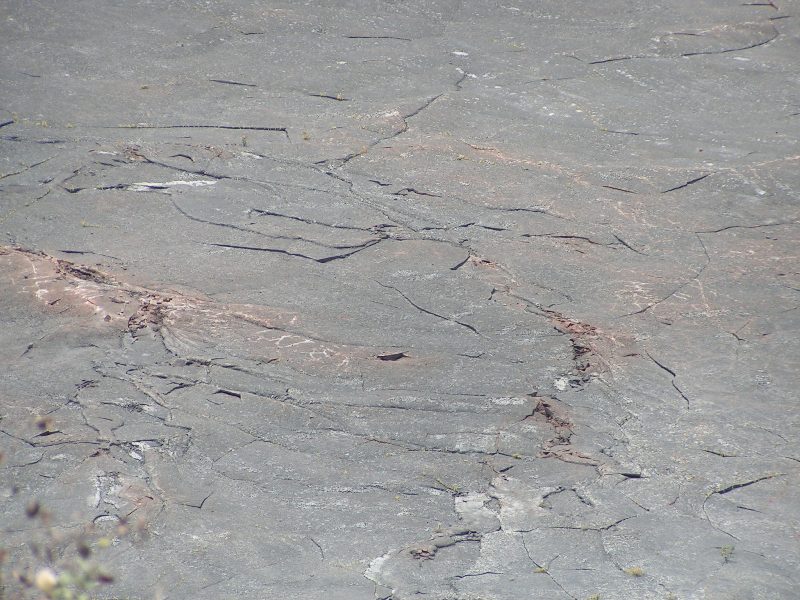
| 4. Detail of Lava Flow |
| 5. Rob and Sandy (Lava flow) |
| 3rd Row (L-R) |
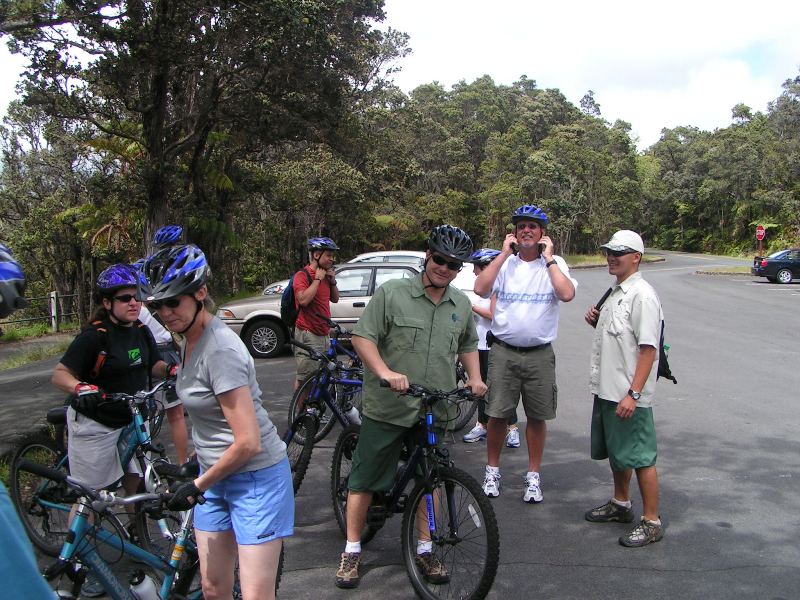
| 1. Guide from El Dorado HS |
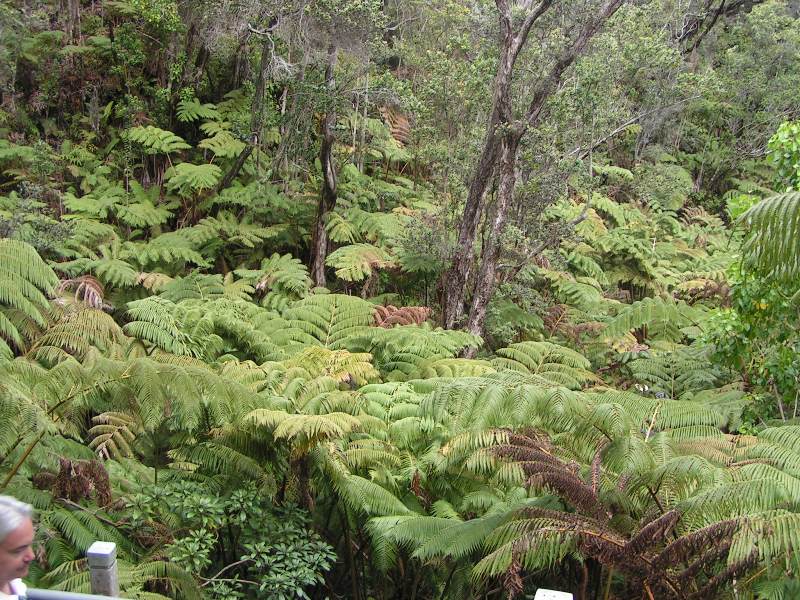
| 2. Forest |
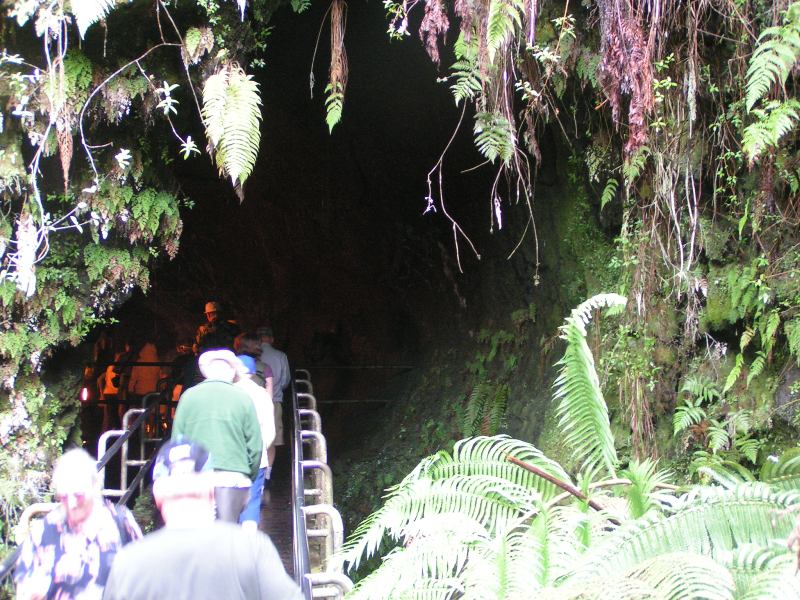
| 3. Thurston Lava Tube Entrance |
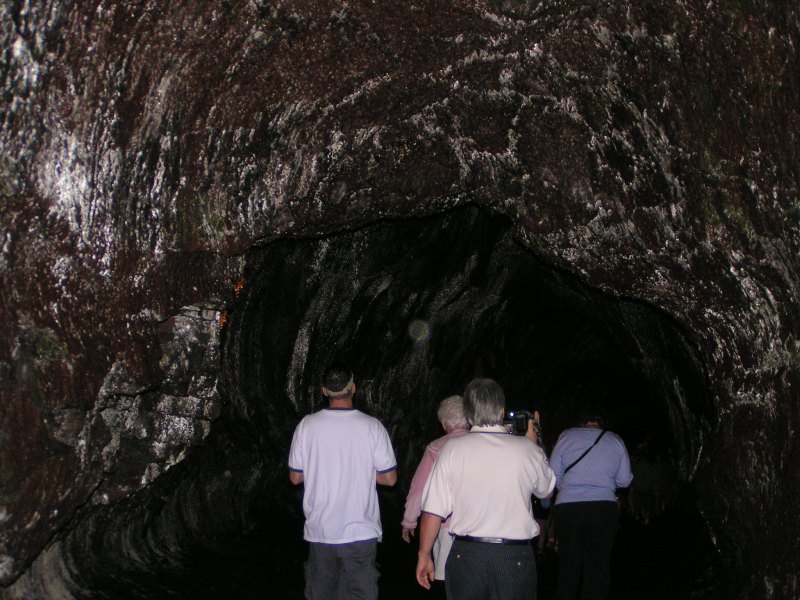
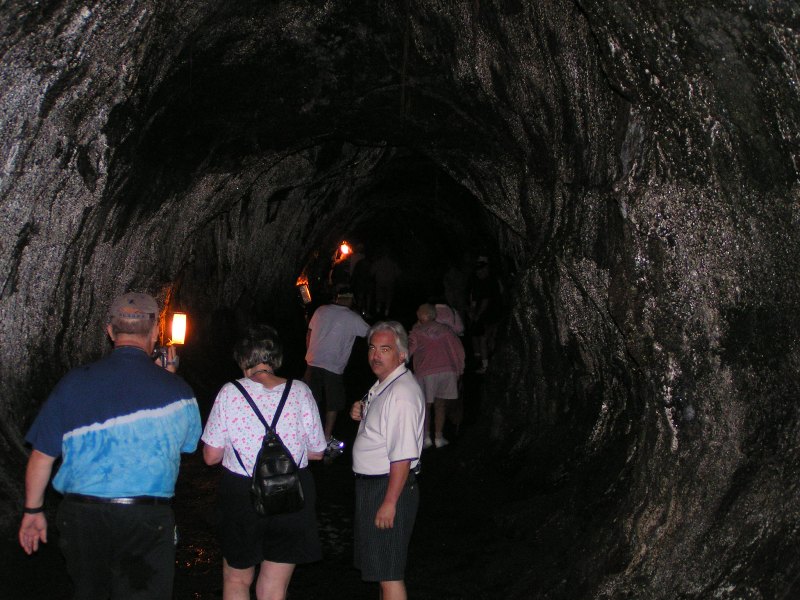
| 4. Inside Thurston Lava tube |
| 5. Inside Thurston Lava tube |
| 4th Row (L-R) |
| 1. Thurston Lava Tube Exit |
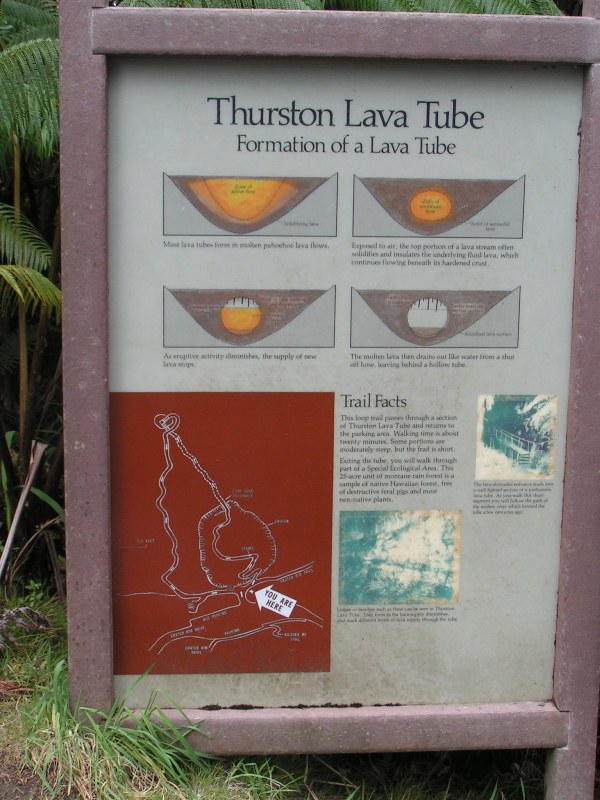
| 2. Thurston Lava Tube Sign |
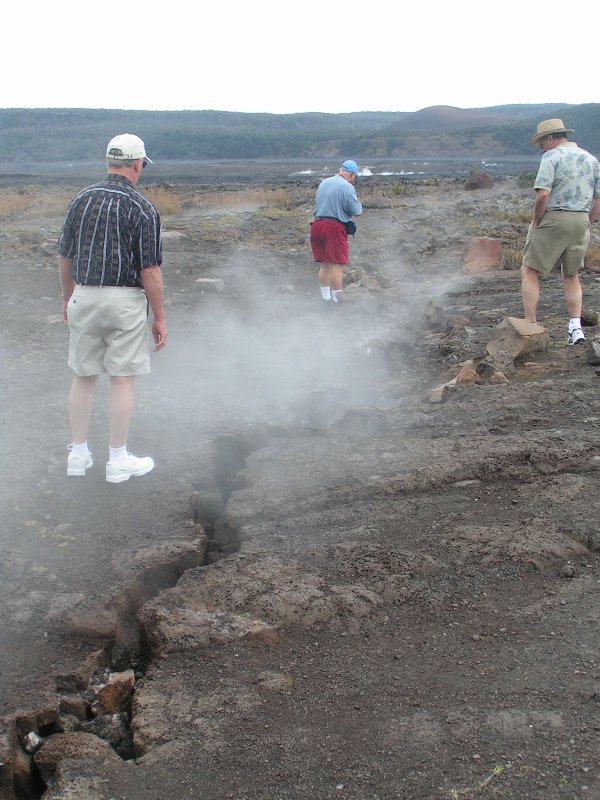
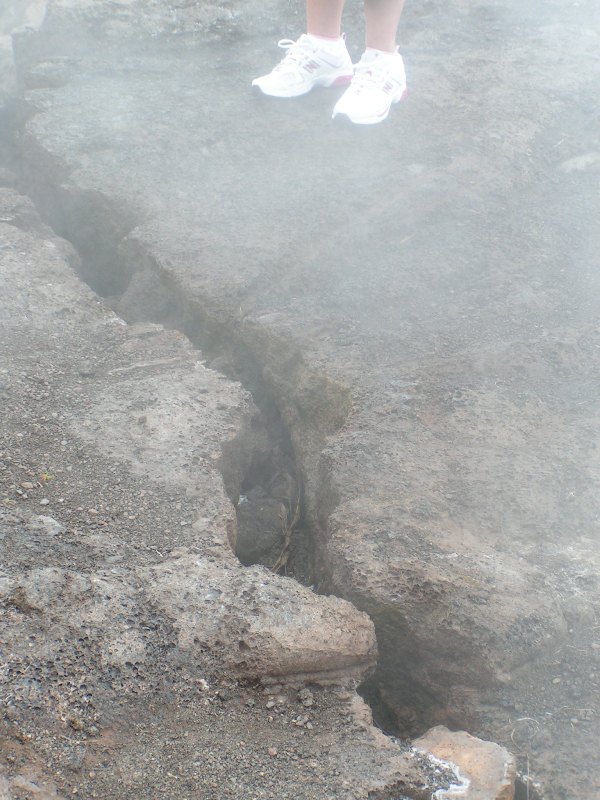
| 3. Volcanic Steam Crevice |
| 4. Volcanic Steam Crevice |
| 5. Field of Volcanic Steam |
| 5th Row (L-R) |
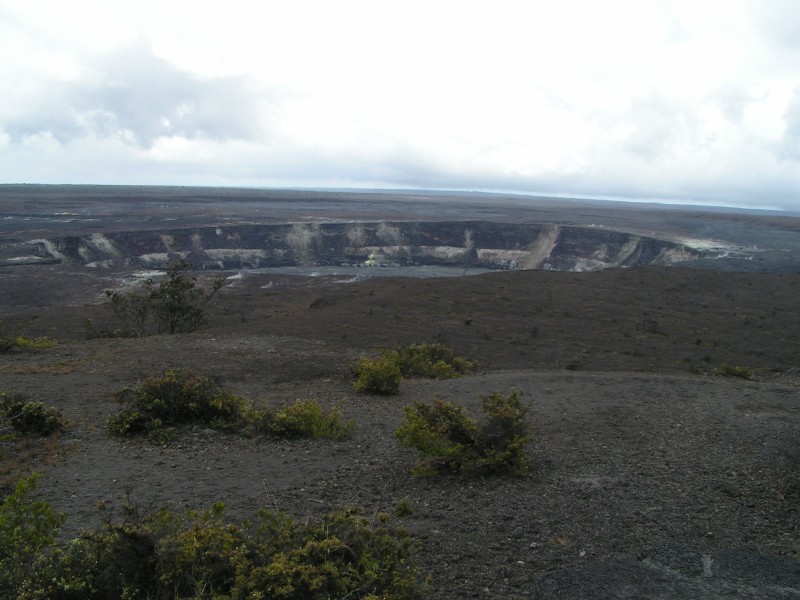
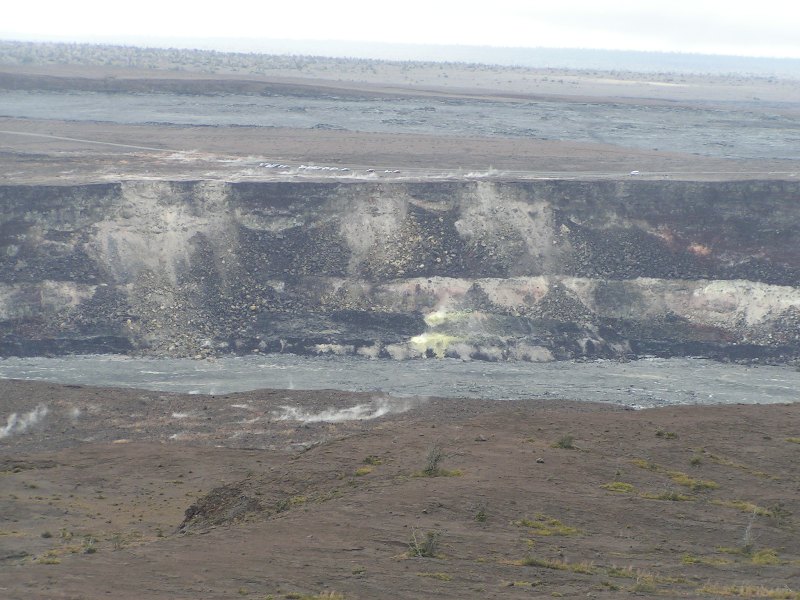
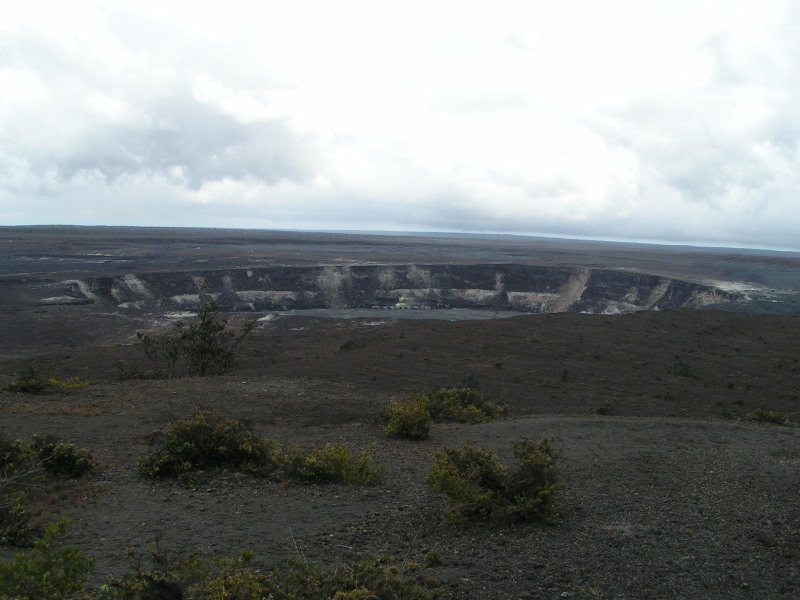
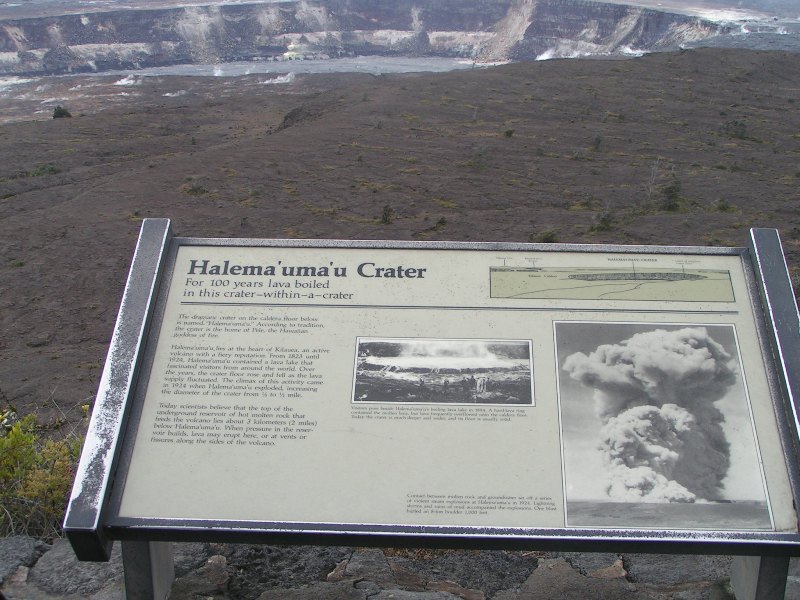
| 1. Halema'uma'u Crater |
| 2. Halema'uma'u Crater |
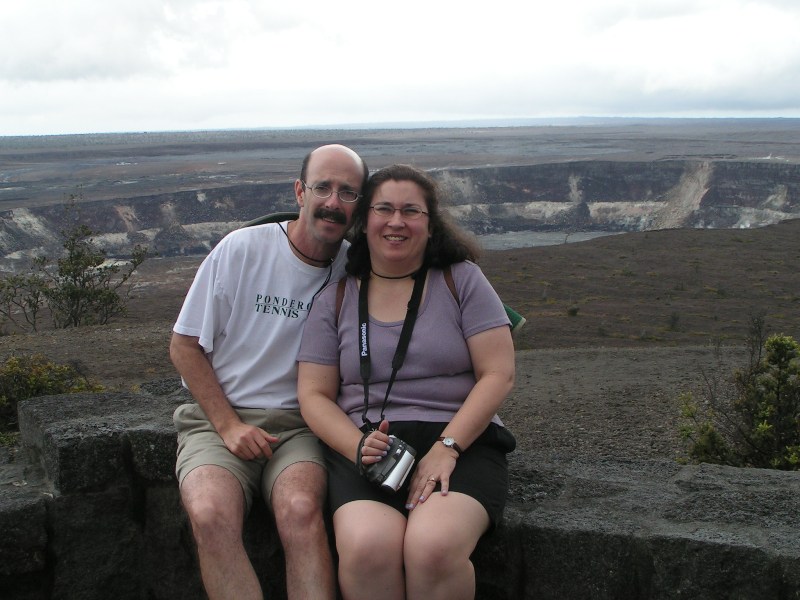
| 3. Rob & Sandy at the Crater |
| 4. Volcanic Steam Crevice Sign |
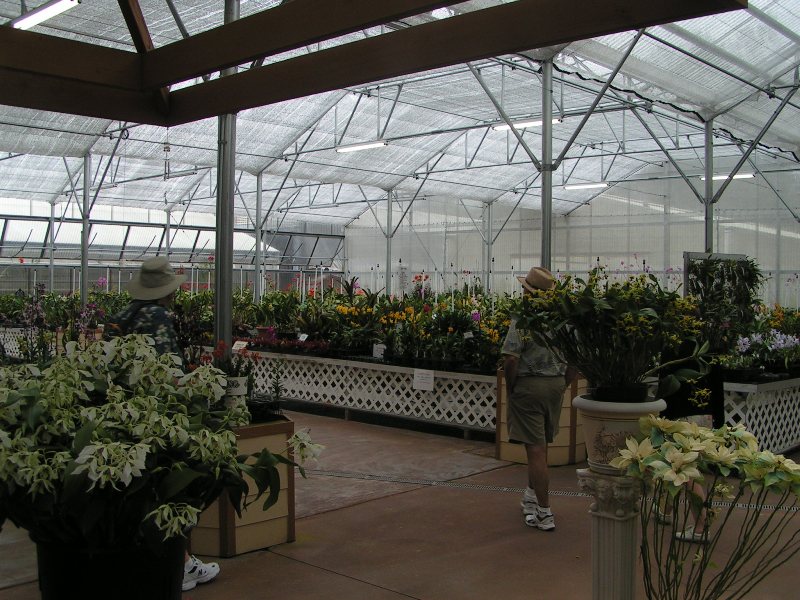
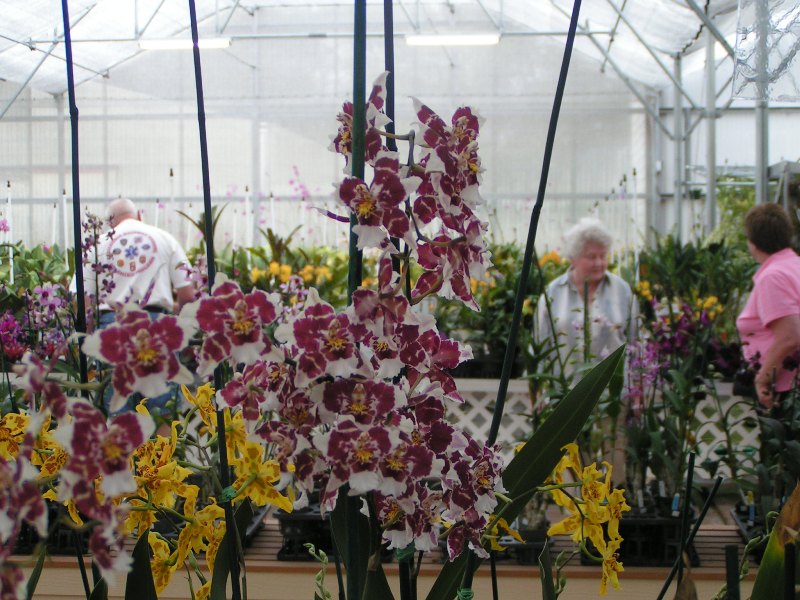
| 5. Orchid Farm |
| 6th Row (L-R) |
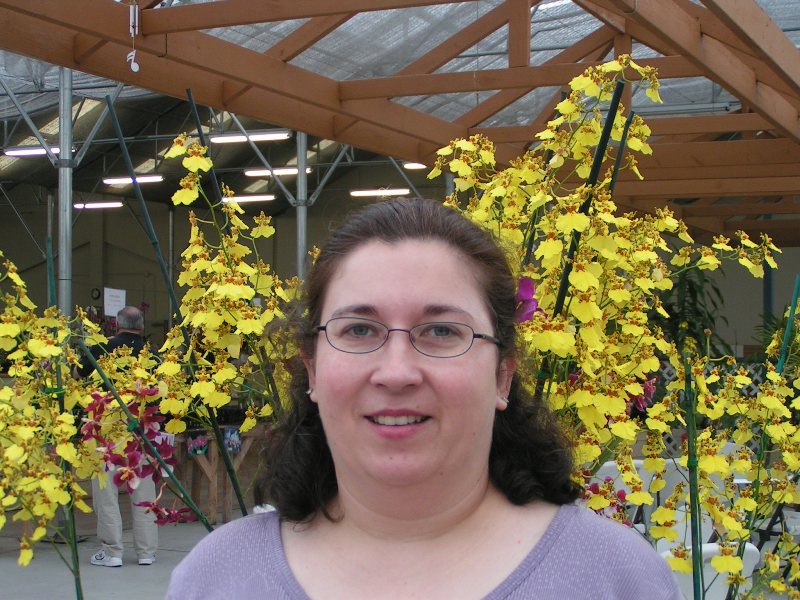
| 1. Sandy at the Orchid Farm |
| 2. Orchid Farm |
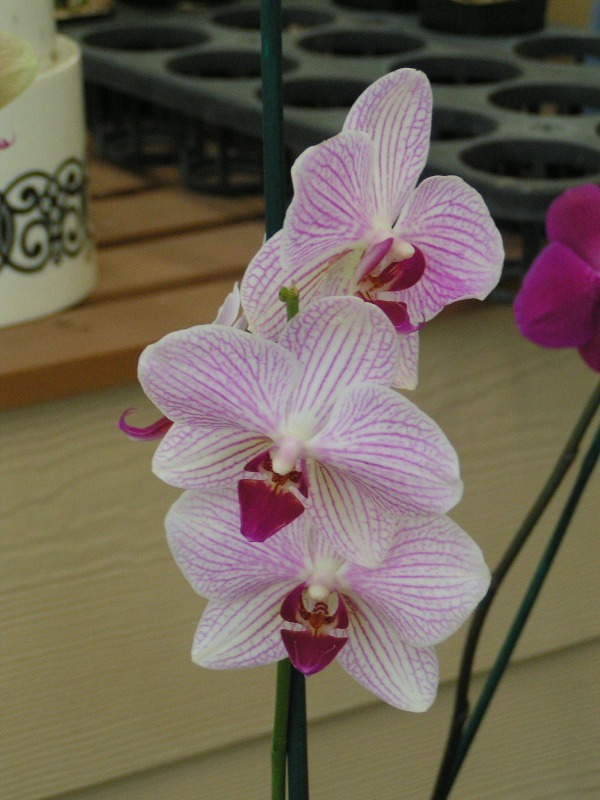
| 3. Orchid |
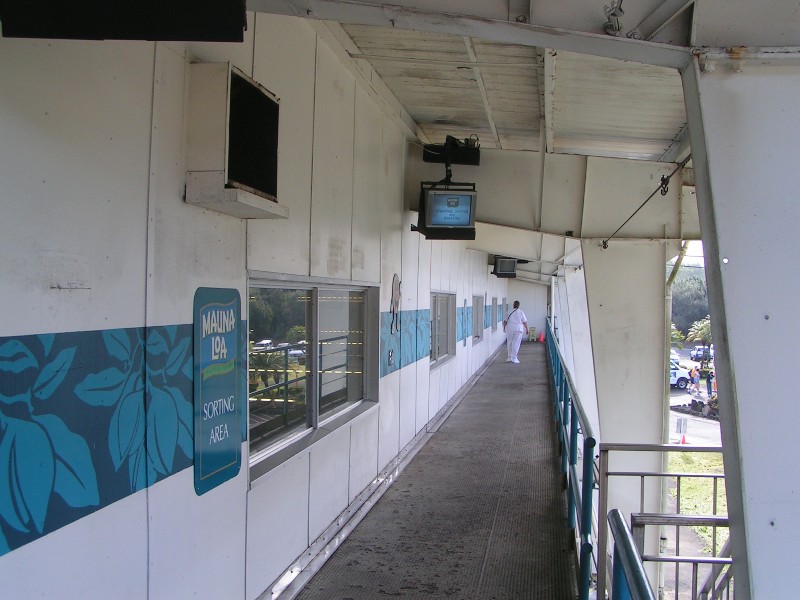
| 4. Mauna Loa Nut Factory |
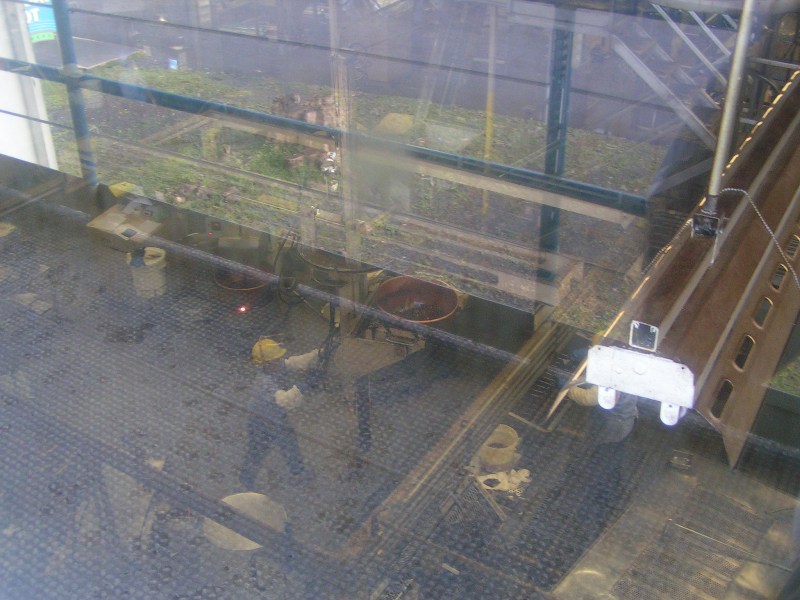
| 5. Mauna Loa Factory Workers |
| 7th Row (L-R) |
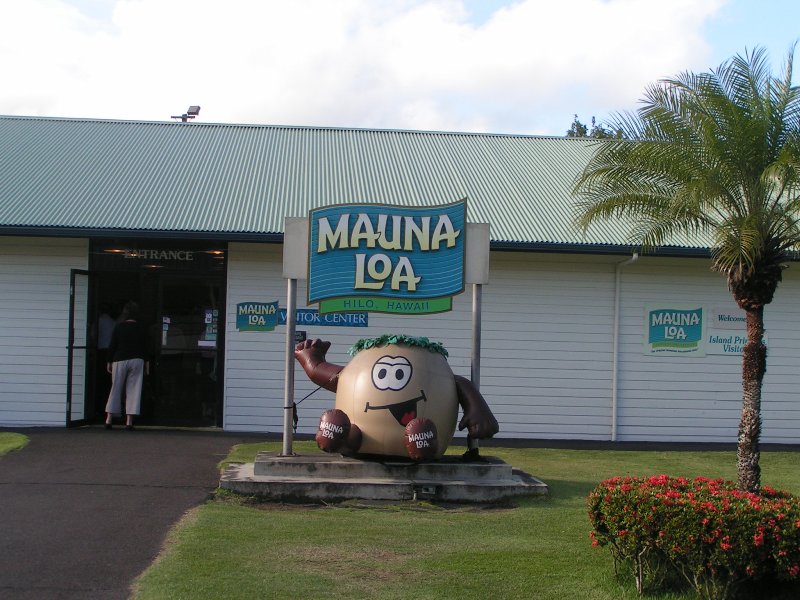
| 1. Mauna Loa Entrance |
Return