Please Click on Images
 |
 |
 |
 |
 |
 |
 |
 |
 |
 |
 |
 |
 |
 |
 |
 |
 |
 |
 |
| Top (L-R) |
|---|
| 1. Perryville Battlefield Museum |
| 2. Map of the Battlefield |
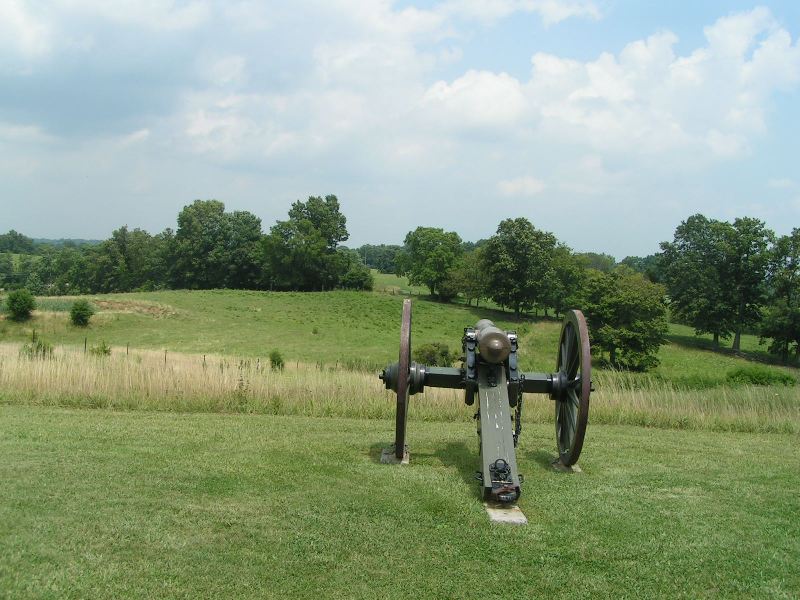
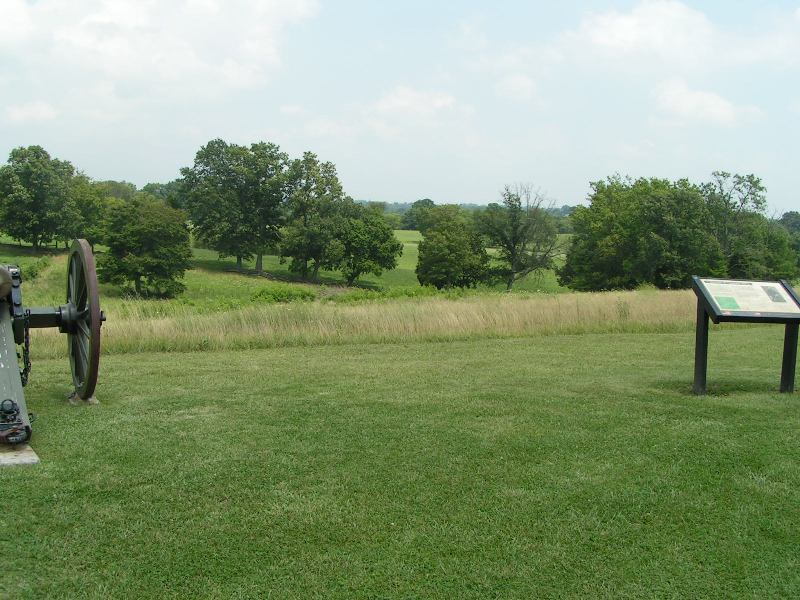
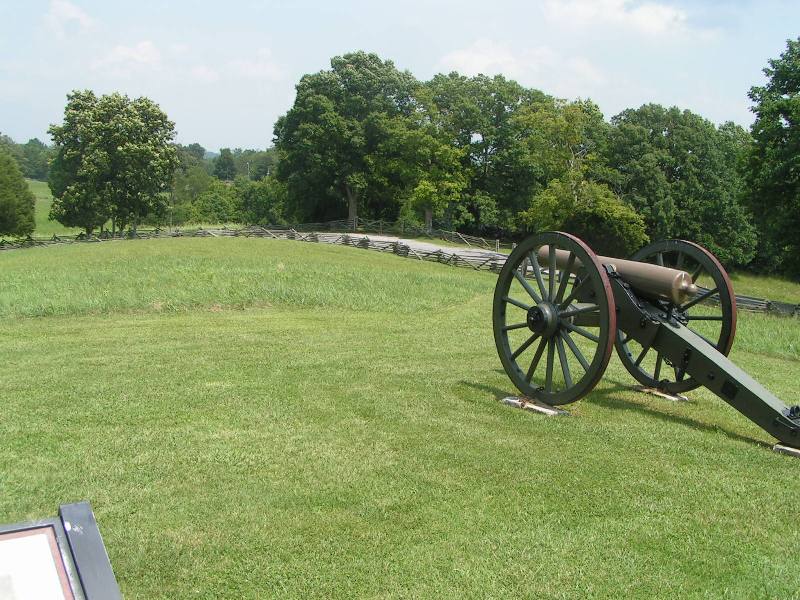
| 3. War Cannon |
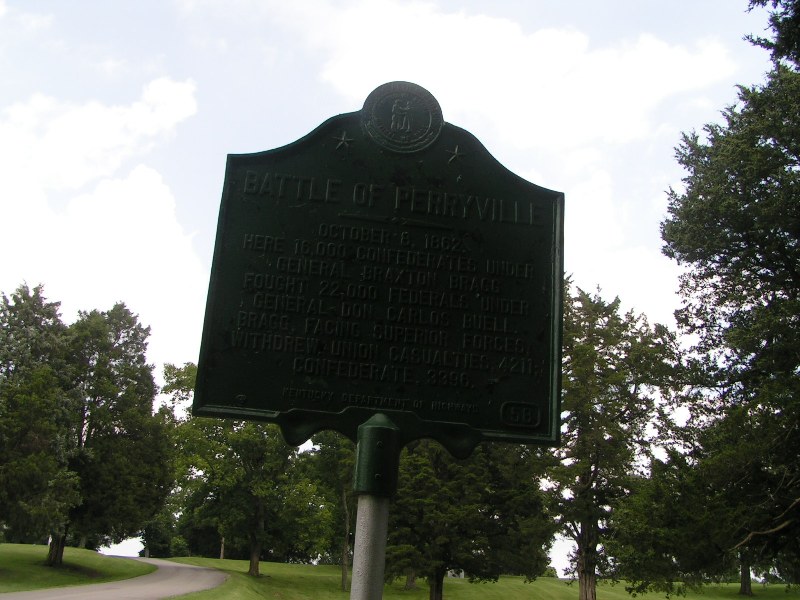
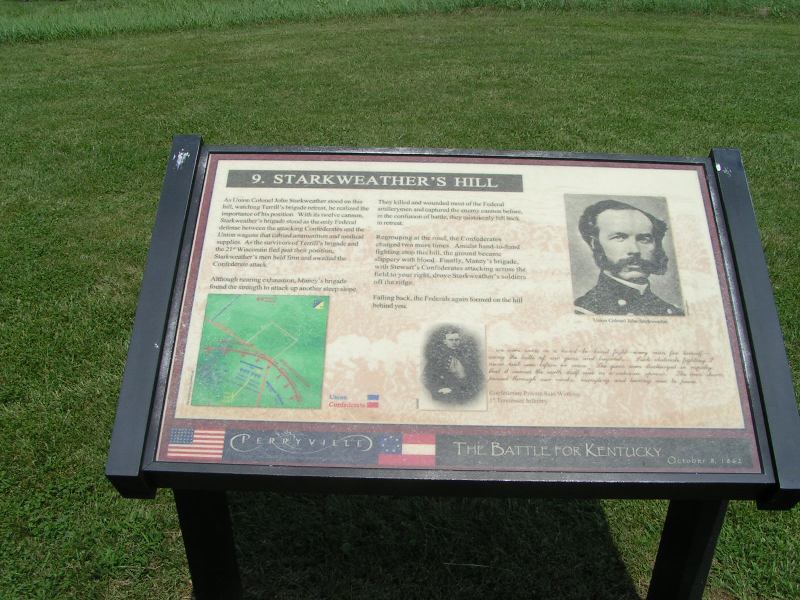
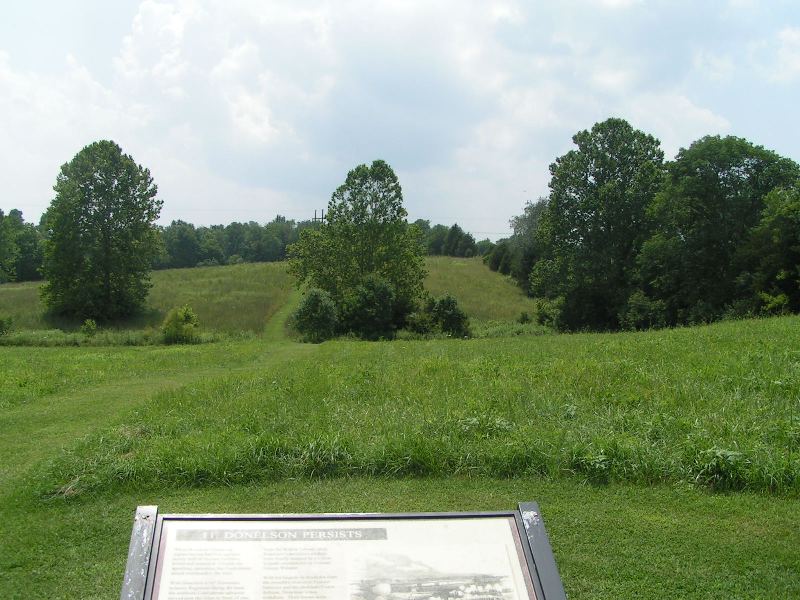
| 4. Battlefield Marker |
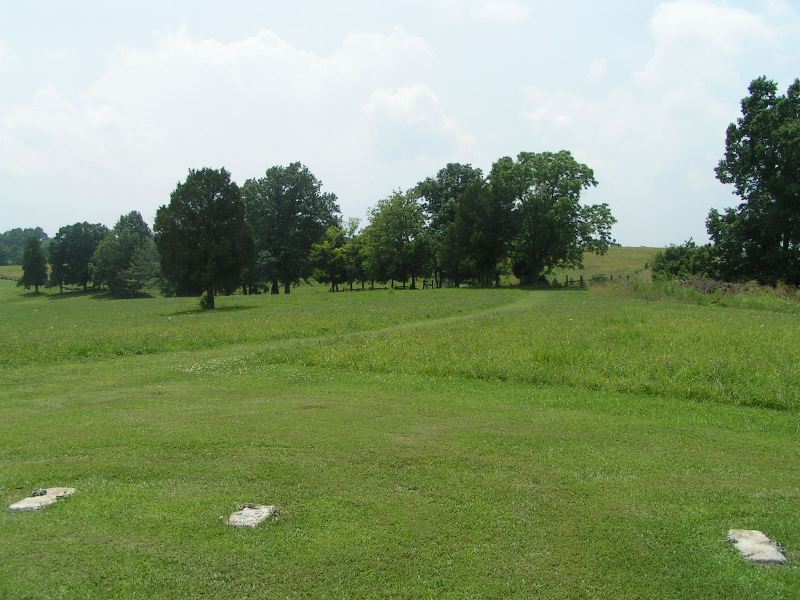
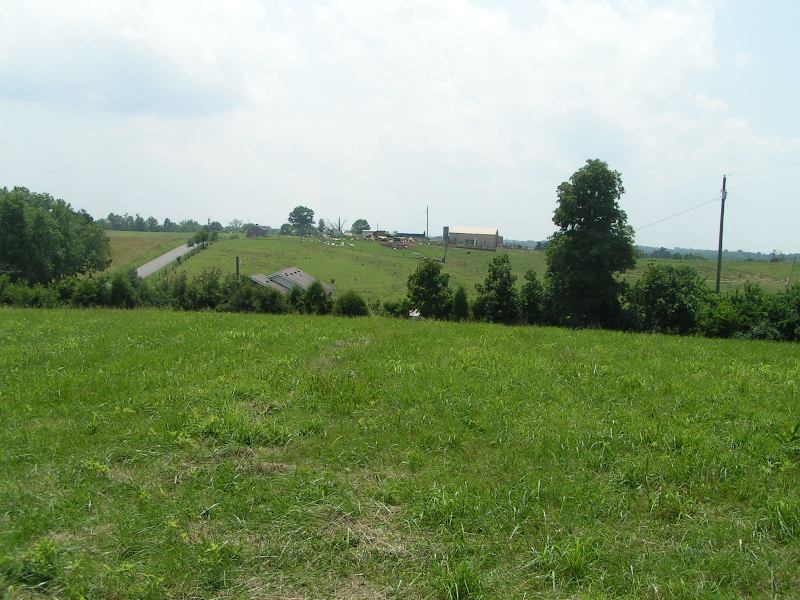
| 5. South's Position below Hill |
| 2nd Row (L-R) |
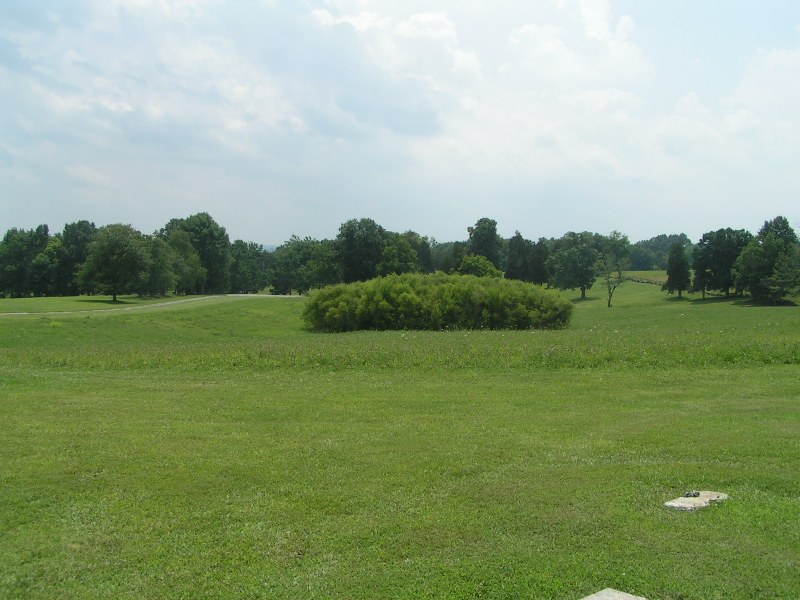
| 1. Same position, along the lines |
| 2. North's Position on the hill |
| 3. North's Position on the hill |
| 4. North's Position on the hill |
| 5. North's Position on the hill |
| 3rd Row (L-R) |
| 1. North's Position on the hill. View to where they retreated |
| 2. Starkweather's Hill Marker |
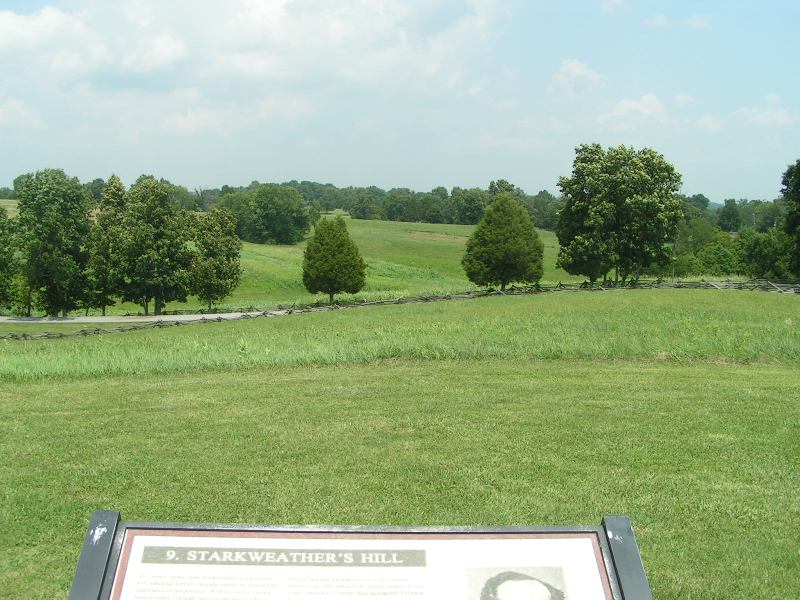
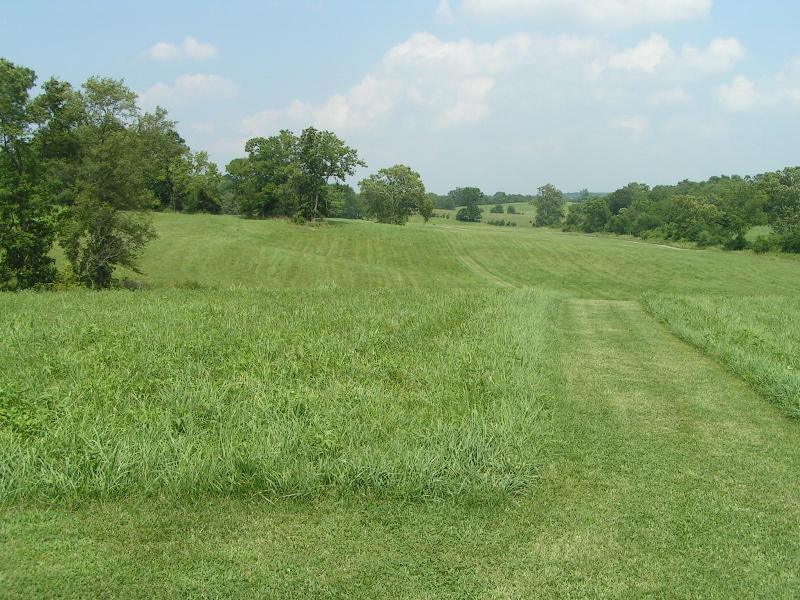
| 3. View back to Original Hill's position. |
| 4. Same position view to the right |
| 5. Same position view to the rear |
| 4th Row (L-R) |
| 1. View of the Norths New battle line |
| 2. Same View |
| 3. Position at the other end of the line facing the original South's Position |
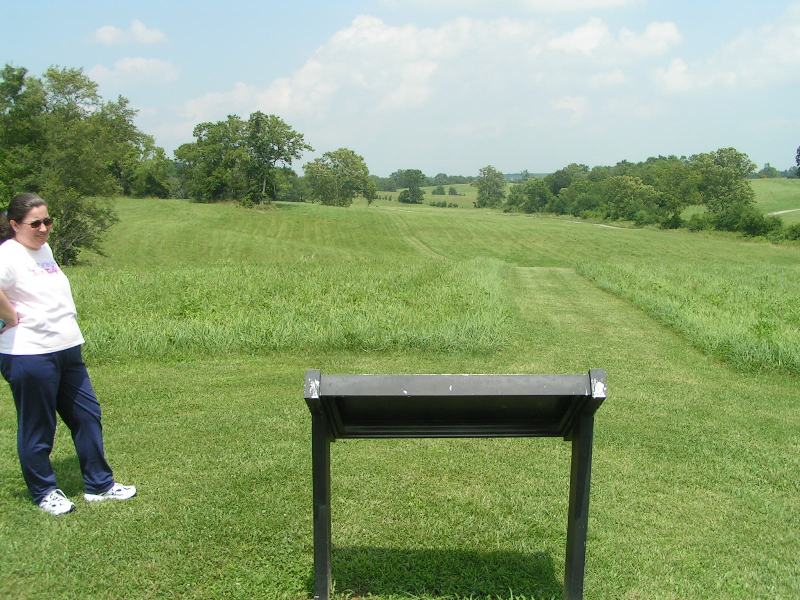
| 4. Sandy looking at the marker |
Return